How to Add Individual practitioners Listings
When you add a location on the Synup dashboard, the listings on Google My Business can only be created for businesses that either have a physical location that customers can visit or that of individuals who travel to visit customers where they are.
What is an individual practitioner listing?
An individual practitioner is a public-facing professional, typically with a customer base that they own. Doctors, dentists, lawyers, financial planners, and insurance, or real estate agents are all individual practitioners. Listings for practitioners may include title or degree certification (e.g. Dr., MD, JD, Esq., CFA).
How do I know if I am an individual practitioner and should create a listing for myself?
You are an individual practitioner & should create your own dedicated listing if:
- You operate in a public-facing role.
- You can be contacted directly at the verified location during stated hours.
- A practitioner shouldn't have multiple listings to cover all of their specializations.
Note: Support staff should not create their own listings. Sales associates or lead generation agents for corporations aren't individual practitioners and aren't eligible for a listing.
Create a successful practitioner listing that won’t be suspended, by accurately listing your business and complying with the rest of the GMB guidelines that do not disqualify your listing.
Other Qualifiers for Individual Practitioners
- Multiple practitioners at one location (If the practitioner is one of several public-facing practitioners at a location)
- The organization should have its own listing, separate from that of the practitioner.
- The title of the listing for the practitioner should include only the name of the practitioner, and shouldn’t include the name of the organization.
- The address can include the details of the organization.
- The contact number can belong to the practitioner or of the organization, where the customer can reach the practitioner to book an appointment.
- Solo practitioners that belong to branded organizations (If a practitioner is the only public-facing practitioner at a location and represents a branded organization)
How to add an Individual Practitioner Location
Synup has flexible features that support quick and easy upload of location data to the platform.
Login to the Platform to access your dashboard. To do this, visit Synup Login.
Click Add New Location in the overhead navigation bar.
This will guide you to the New Location Wizard where you can enter core business information and other important details to create a Location.
The Location Wizard has 3 Steps:
Step 1: Adding Location Information
In this section, you will need to fill in the Business Category information and Business location details of the business.
Here are some guidelines you will need to follow if you are adding an individual practitioner listing:
- Logo image - Has to be the logo of your firm/organization, but in cases where the practitioner is not associated with a brand/logo, then you can also add the image of the individual as well.
- Location name - should be associated with the name of the firm/business you are associated with (Only if you are solo practitioners that belong to branded organizations).
- Category - The categories will be applicable as normal. No special conditions here.
- Contact number - Fill in your contact number where the clients can reach you to book appointments.
- Address - This has to be the address of the firm you are associated with.
- Website - Add the landing page to your profile on your company website
Note: It's best for the practitioner to share a listing with the organization. Create a single listing, named using the following format: [brand/company]: [practitioner name].
Acceptable: "Allstate: Joe Miller" (if Joe is the sole public-facing practitioner at this Allstate-branded location)
Step 2: Adding Business and Operational Information

In this section, you will need to fill in the details of the Business owner(the firm you are associated with) and Operational Information. This will help source out accurate information such as business hours, service offerings, payment methods supported, and business social media connections.
Here are some guidelines you will need to follow if you are adding an individual practitioner listings’ Business and Operational Information:
- Business owner email - can be your email address or the email address where clients can reach you to book appointments or post queries.
- FB, Twitter, and LinkedIn handles - have to be your firm’s handles and not the individuals.
Step 3: Adding Media to your location
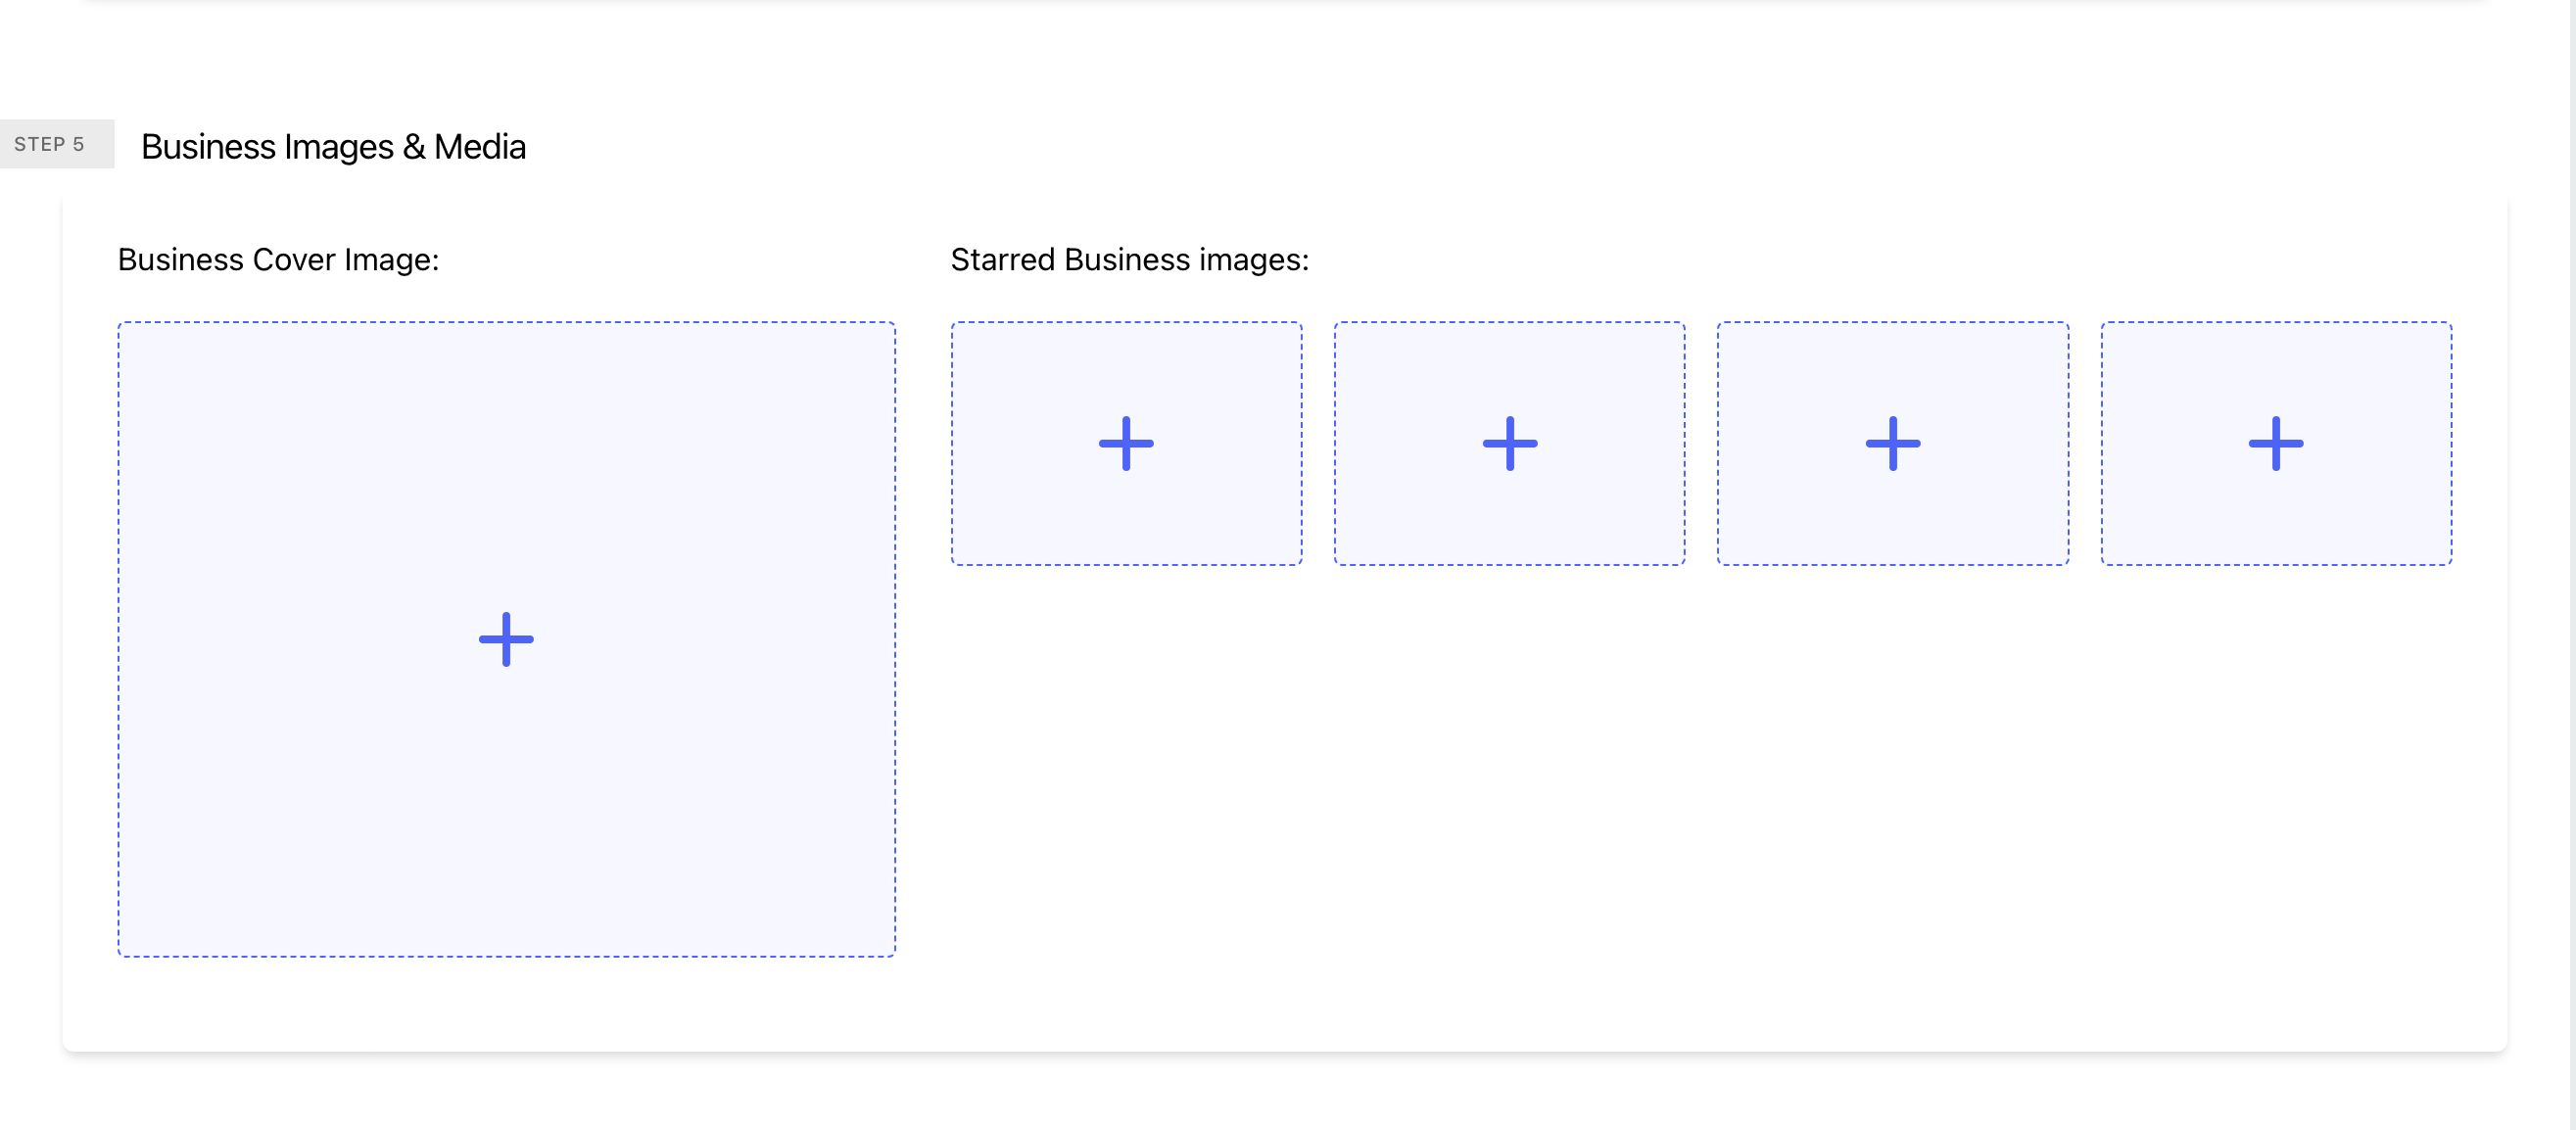
In this section, you can add images to enhance the effectiveness of your business listings by adding your display picture as the cover image and any additional images you might want to add to reference the specific services you cater to. Refer to our add media document for more details on this.
Step 4: Adding additional information for your location
Once the location has been successfully added to the dashboard, you can also add any additional attributes with the help of custom attributes to the listing to ensure that your listing search provides information that is more relevant to your business. Some examples of additional details that can be added are -
- House calls
- Diagnostics
- Procedures
- Links to booking online appointments and virtual care.
To do this, once the location has been added, select the Edit location option and scroll down to the custom attributes section to add these details.

Learn more about Custom attributes here.
Note: The cover image or the additional images can be the display picture of the individual.
Once you have filled in all the mandatory fields, click on ‘Add New Location’ to complete your business location setup.
It can take up to 72 hours for your Location data sync across all supported Publishing Partner Networks and appear publicly as a Listing.
Learn more about the Listing Sync Process.
You can view the Listings Sync Status alongside a link to the Publishing Partner Directory. There can be three statuses:
- Sync In Progress.
- Connect your account to Sync the Listing (For Google, Facebook & Yelp.
- Listing Synced.
For more information on the listings sync status, refer to this article.
Related Articles
How to Add a New Location
Synup has flexible features that support quick and easy upload of location data to the platform. There are three ways to upload your location data: Single Location data Upload, via the Location Wizard on the dashboard. Multi-Location data Upload, ...How to Add and update Media
In addition to your brand logo, you can also add photos of your business events, and highlight products to show your customers what you do best. Types of media you can add: Business Logo: Logos are a great way to drive your branding and help ...How to add publisher overrides?
Publisher overrides can be added for a business location at 3 stages. When a new location is added From Edit location screen From the bulk edit locations screen Adding Publisher overrides when a new location is added Navigate to the Add location CTA ...How to add multiple locations
Brands with a significantly large number of locations can upload data using a CSV file. Multi-Location Data Upload via CSV This process includes creating a comma-separated value (CSV) file using a spreadsheet program like Microsoft Excel or Google ...How to add Special Hours of Operation
You can use Special Hours for any occasion when your business might be running different hours from usual, such as - special holidays, promotion periods, and festival days. These hours can be set prior to the event. When you schedule special hours ...