How to create a new document
How to create a new document
Documents in Synup OS allow agencies to create professional, signable files for leads and clients. Whether you’re sending a proposal, estimate, quote, or portfolio, you can create documents with customizable templates, dynamic fields, and design blocks, all in one place.
When Can You Use Documents?
Documents are typically used when your agency needs to send information or proposals to leads and clients, especially those that require a signature. Examples include:
Proposals and estimates
Quotes for services or products
Portfolios or company introductions
Terms and conditions for a project
Contracts and agreements
Document Lifecycle in Synup OS
Every document you create goes through a series of stages. Here’s the full lifecycle:
Create a Document – Use Synup OS’s prebuilt templates or start from scratch.
Send the Document – Send directly to the client via email or generate a shareable link to send via private chat.
Audit Trail – Track activity to see when the client opened the email or accessed the document link.
Reminders – Configure automated reminders with custom email content to nudge clients who haven’t responded.
Acceptance or Rejection – Clients can digitally sign to accept the document or reject it with a reason.
Duplicate Documents – Save time by reusing previous documents and making quick edits for new leads.
How to Create a New Document
Navigate to the Documents module in Synup OS.
Click on + New Document.
Select the type of document, enter Document Title, and select a Receiver. You can select from existing clients/leads or add a new lead or client contact to OS.
Click Create. You’ll see multiple templates you can choose from to get started with your document or you can build from scratch using New Template option.
Building Documents Using Templates
Synup OS provides time-saving, readymade templates to help you quickly draft professional documents.
Templates are designed for common use cases such as proposals, estimates, and contracts.
You can customize the content, design, and merge fields in each template to fit your client’s needs.
Using the Document Editor
Once you select a template or new template, this opens the Document Editor where you can design, customize, and finalize your document. The editor gives you complete flexibility to design your document.
Add Content Blocks
From the Add Block menu on the left side, you can insert:
Text Block – Add and format written content.
Image Block – Insert images from your device or via URL.
Table Block – Add structured data in tabular form.
Divider – Insert horizontal lines to separate sections.
Formatting Options
Use the top toolbar to format text, adjust colors, add links to text, add images, change fonts, add text highlight, or apply bold/italic styles.
General Settings
You can update general settings of the document any time, like document type, title, due date, and who you send it to.
Document Design Update
You can customize basic design settings in the document like background color, font type, and font color. (Note: this helps when you don’t want to select and update font settings for individual text blocks)
Merge Fields
Merge fields allow you to insert dynamic data (like client name, company, or website) to your documents.
Access merge fields from the left-hand menu.
You can insert any merge field into the document. You can also type “[” in the document editor to bring up available fields.
Merge fields automatically pull data from client records to save you time. Here’s how to update merge fields in settings.
Save the document
All changes are saved automatically, protecting you from accidental data loss. But we still recommend you to manually save the document once all edits are done, to ensure no progress is lost due to network issues or technical errors. Click the Save button on top right.
Preview & Download
Before sending, you can Previewthe document to see exactly what your client will see. If all looks good, you can send the document along with an email.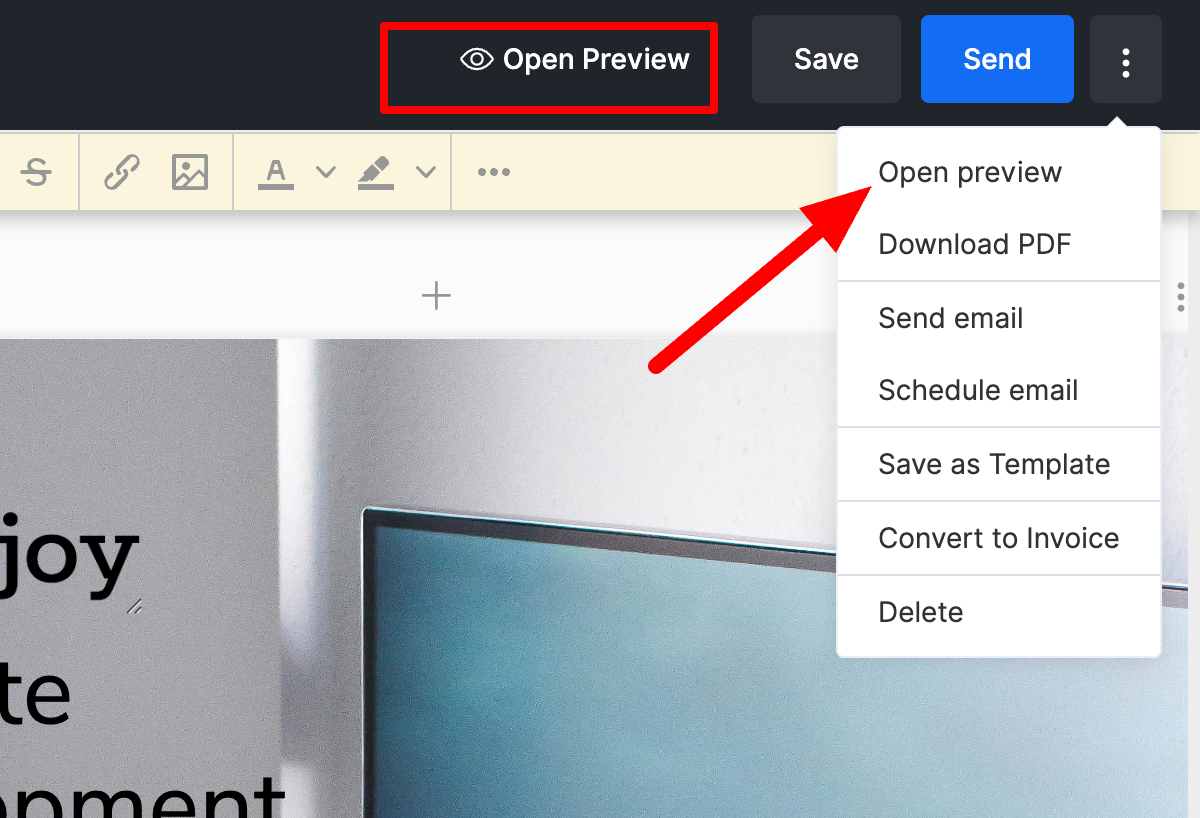
Related Articles
How to create & use new document templates
How to create & use new document templates Document templates are a great way to standardize your business documents, from sales proposals to contracts. Creating a template ensures consistency and saves you time by not having to start from scratch ...How to share and track a document
How to share and track a document Tired of manually sending and tracking documents? Synup OS simplifies the process, saving you valuable time and ensuring you never lose sight of an important document. With just a few clicks, you can send documents ...How to create an invoice
How to create an invoice: Regular, Recurring, & Split Invoices Invoices in Synup OS help you bill your clients and get paid on time. You can create, customize, and send invoices directly from your dashboard. Follow these steps to create a new ...How to create and use email templates
How to create and use email templates Email templates are a powerful tool to save time and ensure consistent communication. With Synup OS, you can create and use templates to quickly send emails for common scenarios, such as following up on proposals ...How to set up document reminders
How to set up document reminders You can set up automatic reminders for documents nearing their expiration date in Synup OS. This ensures you're notified in time to update important paperwork. Follow these simple steps. 1. Navigate to Settings First, ...